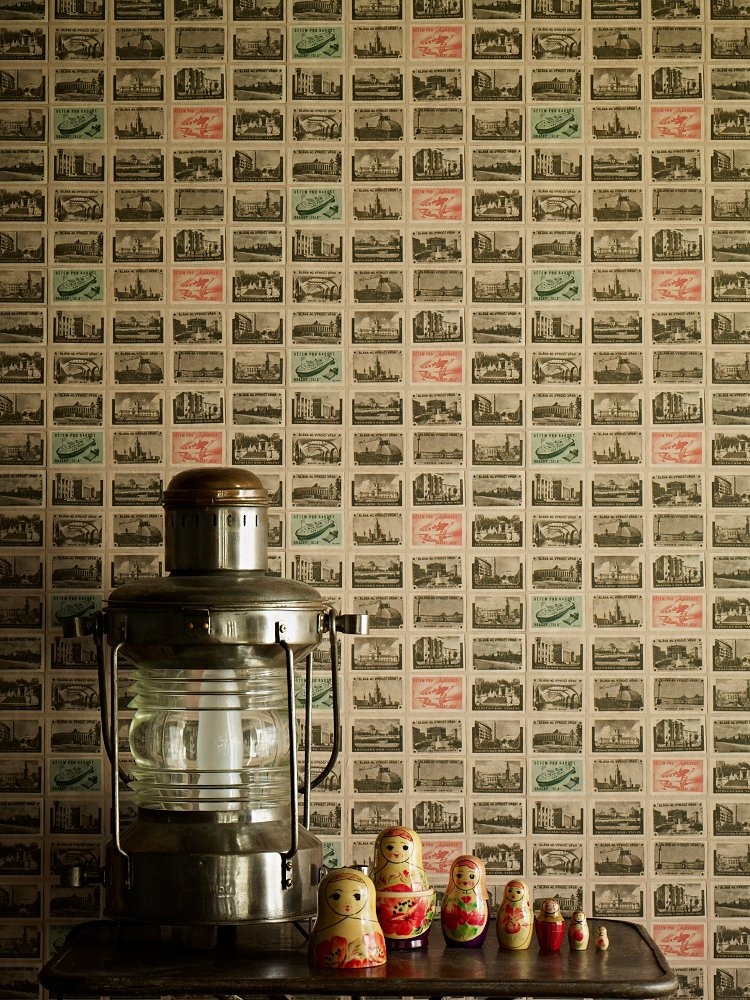
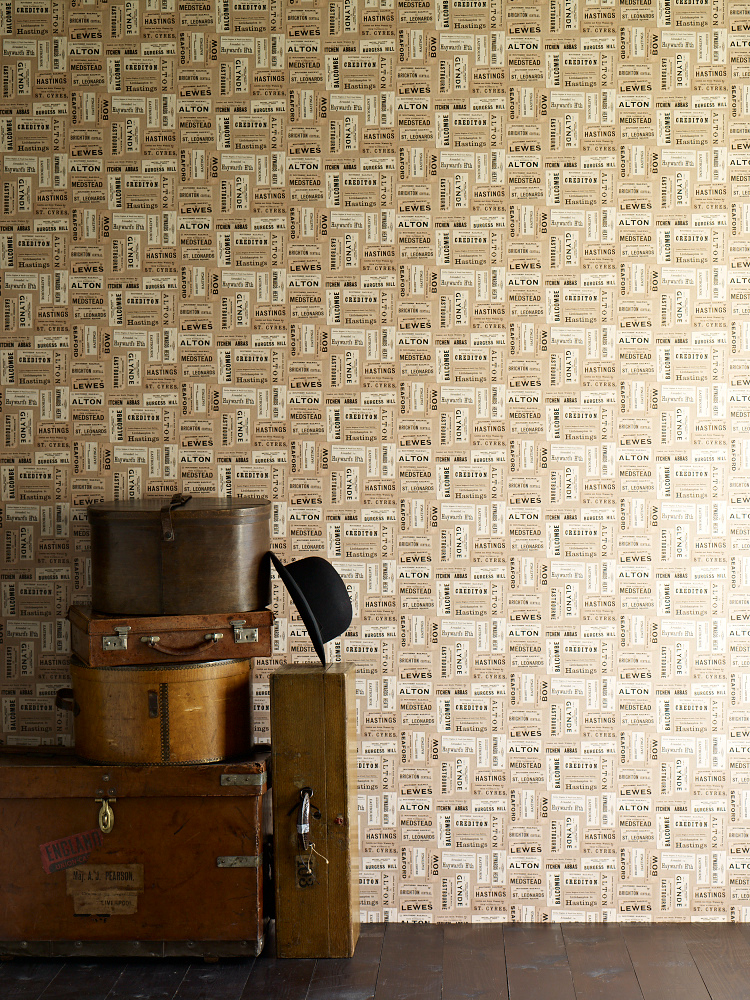
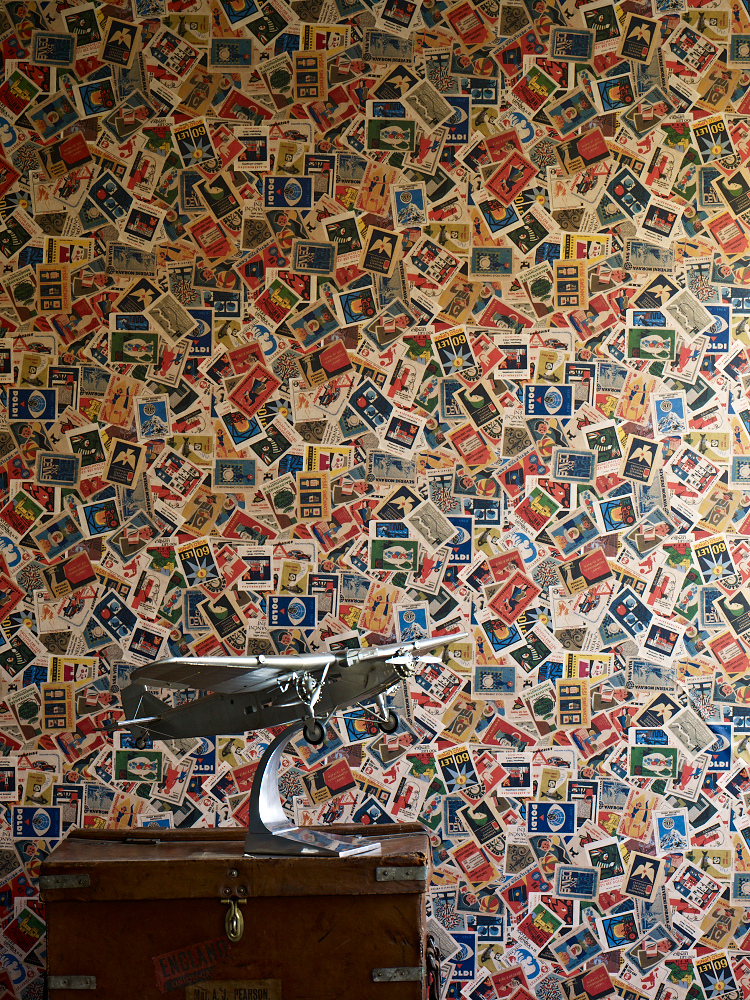
Knock me down with a feather! Yesterday’s wallpapering was a success! Here’s the result…

Ok, so the low wall still needs painting, those ugly cables need tidying, the radiator’s a shame and I need to replace that cheap door, but aside from that I’m really pleased with how this room is finally shaping up. Even though my friend and I must have written scores of wallpapering ‘how to’ articles between us, we’re both novices when it comes to having a go ourselves. If you’re the same I recommend starting with this tutorial. We followed it to measure, match and cut the lengths… The paper is Cole & Son‘s Mimosa, which is thankfully ‘paste the wall’ so makes things a whole lot easier (and tidier). We used a mini foam roller to apply the paste to the bulk of the wall for each drop and a normal paint brush for the top and edges. Here’s my friend demonstrating the technique while I took a sneaky tea break!
 As we’d managed to pick the hottest day of July for our work, we soon decided it was time for lunch. Pizza in the park anyone?
 I was a bit nervous about what we’d do when we reached the dreaded radiator. Over at Yahoo answers my search for “How I wallpaper behind a radiator without removing it?” yielded some less than encouraging responses:
“Just do a botched job – who looks behind radiators anyway?”
“With difficulty”
“Almost impossible: Do yourself a favour and find a friendly plumber to remove it for you, soon, before the winter comes”
Err, yeah. Thanks.
So, there was nothing else for it. We had to make it up ourselves. Who looks behind radiators anyway, right?
If you’re interested, this is how we did it in the end:
We measured from the edge of the previous drop to the bracket behind the radiator and cut upwards from the bottom of the length to the top of the bracket. As it’s paste the wall we could do this neatly on the floor without splatting gloopy paste all over the radiator, which was a big plus.
Then we hung the top of the roll as usual, used a long handled mini roller to paste behind the radiator as best we could and carefully fed the cut paper behind the radiator with the cut strips at the bottom either side of the bracket.
Using the same long handled roller but with a dry sleeve we smoothed the paper behind and finally brushed a bit of paste along the bottom of the radiator to stick the two cut ends together. It sounds complicated but actually it was a lot more straightforward than we thought and looks pretty neat and tidy. For a botched job anyway!

{all Decorator’s Notebook}
So, there you have it. Maybe not the most professional finish in the world but it looks ok, don’t you think?
Tags: Cole and Son, feature wall, how to wallpaper a feature wall, how to wallpaper behind a radiator, wallpaper, wallpapering how to


Lovely comments